Projects
Superconductor projects group your tickets, chats, and agents, usually around one or more repos and a development environment.
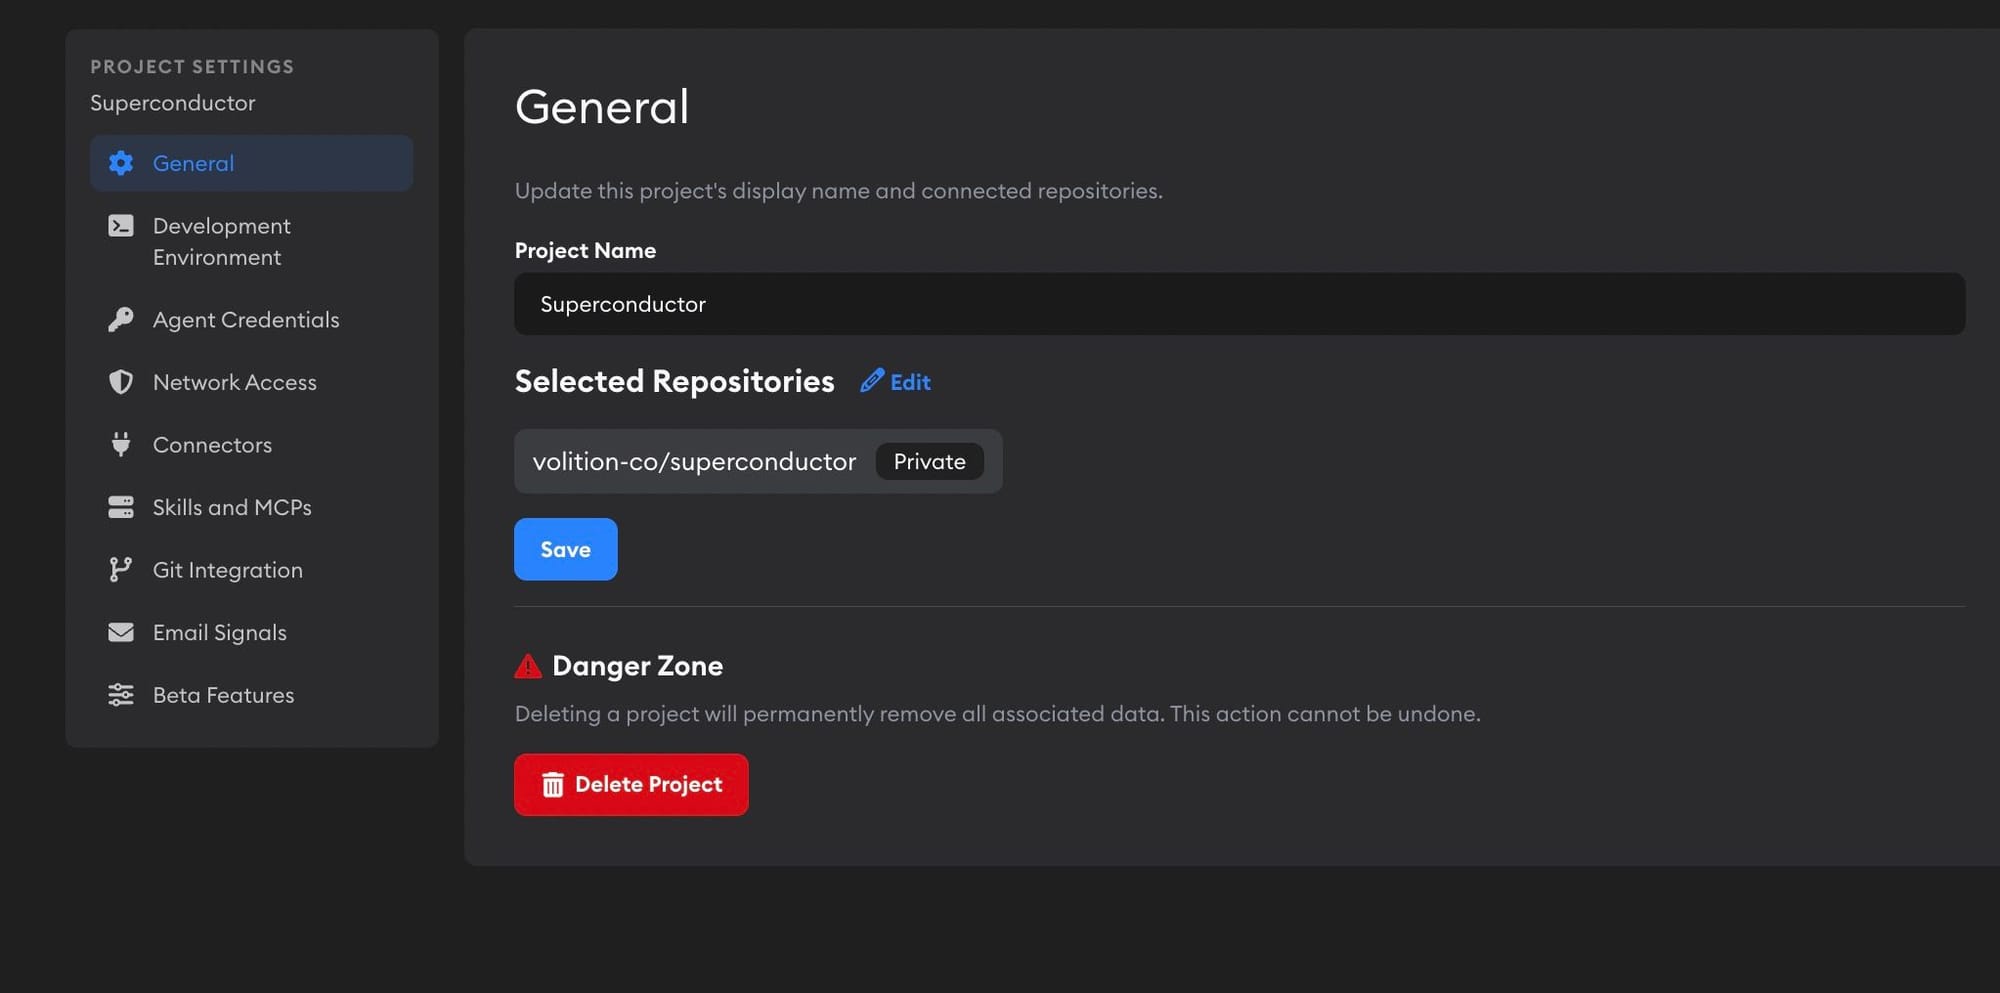
To open Project Settings, go to the project and click Settings in the project navigation. From there, use the sidebar to move between the project's General, Development Environment, Agent Credentials, Network Access, Connectors, Skills and MCPs, Git Integration, and Beta Features sections.
General
Use the General section to update the project's basic identity and repo connections:
- Project Name — The display name for the project throughout Superconductor.
- Repositories — The GitHub repositories connected to this project. Agents use these repos when creating branches, reading code, and opening PRs. Repositories are optional. See Projects without repositories.
- Danger Zone — Administrative actions for the project, such as deleting it.
Development Environment
When you create a project with repos, Superconductor automatically runs Automatic Environment Setup to configure the cloud dev environment where agents run. The project dashboard shows setup progress and will ask you for details if the setup agent needs secrets or other input. You can also tweak things manually at any time. See Development environment for details.
Agent Credentials
Configure API keys for coding agents at the project level. See Agent credentials for details on connecting credentials and precedence rules.
Network Access
Control which external domains your coding agents can access while running. See Network sandboxing for details on configuring access modes, custom rules, and trusted package registries.
Connectors
Start in Workspace Settings → Connectors to connect your team's tools, such as Notion, Jira, and Figma, and choose which projects can use them.
If you're already working in a project, Project Settings → Connectors is a shortcut to see the connections available there. You can see which accounts your agents use, add a connection for this project, or click Manage to change project access. The Used by your agents badge shows the account your agents will use for each tool in this project.
To remove access for just this project, update the connection’s selected projects under Manage. Disconnect removes the connection for every project using it. See Managing connections for details.
Skills and MCPs
Go to this section to turn on Superconductor Skills like image and video generation, and Playwright for browser testing. To connect tools such as Notion and Figma, start with Connectors, where you can also add a custom MCP server for any tool that isn’t in the list. Superconductor picks up custom skills and MCP servers configured in your project’s repos too. See Skills and MCPs for details.
Git Integration
Git Sync
Control whether Superconductor automatically writes commits back to the branch after coding agent responses. When Automatically commit and push branch is enabled, Superconductor generates a commit message, creates a commit, and pushes the branch to GitHub after each coding agent message on each implementation. This happens automatically starting from the very first agent response — you don't need to create a PR first. If an agent response doesn't change any code, the commit is skipped.
This setting is off by default. To enable it, go to Project Settings and check the box under Git Sync.
When auto-commit is off (the default), you can still push changes manually using the Submit PR and Update PR buttons on any implementation.
Treatment of PRs created outside of Superconductor
When you create a PR from Superconductor, links to the implementation and live preview are automatically posted in its description. You can enable similar treatment for PRs created outside of Superconductor—useful for open-source projects or teams where some contributors prefer to work outside Superconductor.
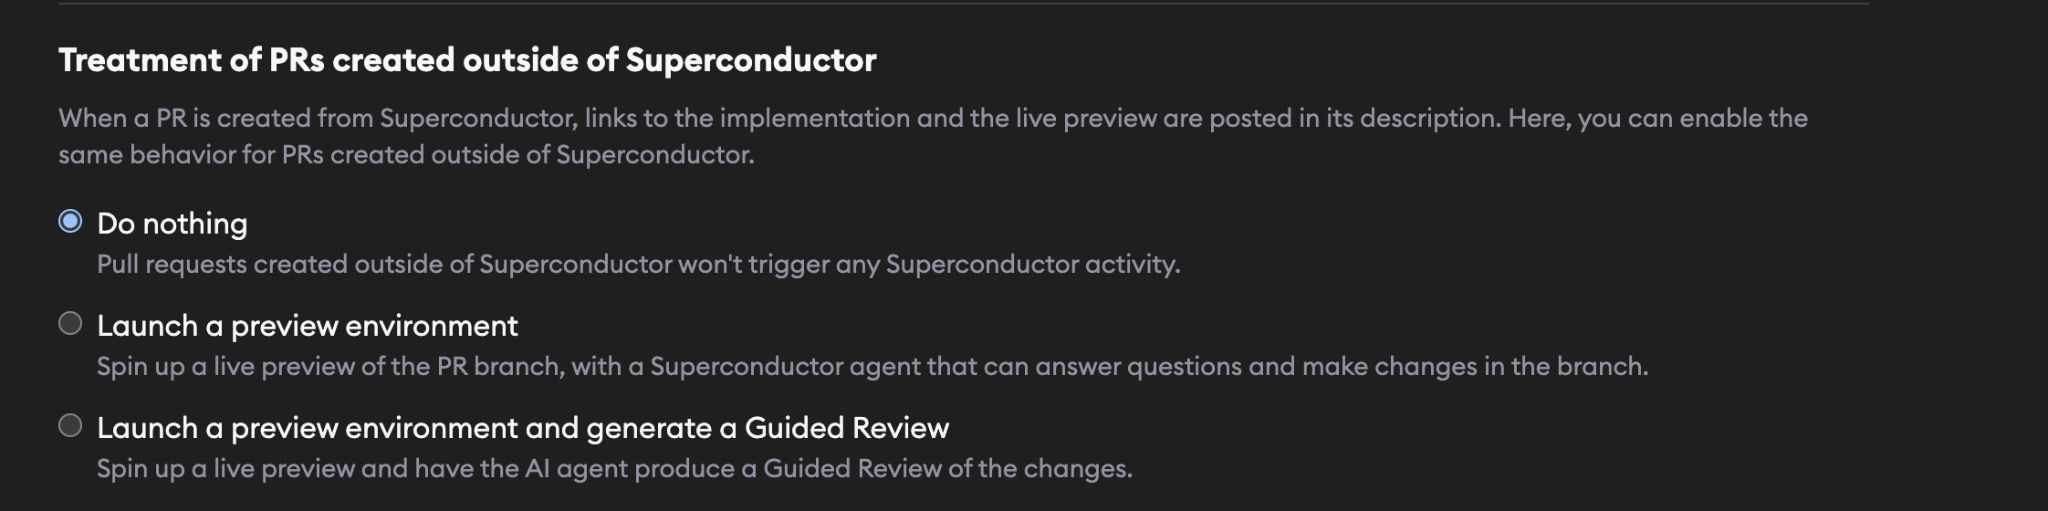
In Project Settings, you have three options:
- Do nothing (default) – External PRs won't trigger any Superconductor activity.
- Launch a preview environment – Superconductor creates a linked ticket and spins up a live preview with an agent ready to answer questions and make changes in the branch.
- Launch a preview environment and generate a Guided Review – Superconductor creates a linked ticket, spins up a live preview, and automatically generates a Guided Review so reviewers can start from an AI-organized walkthrough of the changes.
Email Signals
When Email triage is enabled, Project Settings includes an Email Signals tab for configuring how forwarded emails are displayed.
Beta Features
Use Beta Features to manage optional project features that may not be enabled for every project. To request access to a beta feature, email team@superconductor.com.
Depending on your access and which features are available, this section can include:
- Email triage — Forward customer emails to Superconductor so a PM agent can analyze them, create tickets, and draft replies. See Email triage for details.
- Meeting assistant — Invite a bot to meetings so Superconductor can capture the transcript and create tickets from action items. See Meeting assistant for details.
- QA Checks — Run an independent QA agent against your implementation to score functionality, code quality, and tests. See QA Checks for details.
- Implementation Recommendations — Compare multiple implementations of the same ticket and get a recommendation for which one to continue with. See Implementation Recommendations for details.
Projects without repositories
You don't need a GitHub repo to use Superconductor. Create a project without one when your team's work isn't code, like research, sales, marketing, or support. You can do this two ways:
- During workspace setup, click Create a project under Working on something else?
- When creating any project, give it a name and skip the Connect GitHub (optional) or Project Repositories (optional) section.
Agents in a project without repos still run in their own cloud sandbox. They can use your connectors, skills and MCPs, and network rules, and they can create artifacts. Tickets and chats both work.
Because there's no code to change, a few things are different:
- There's no branch picker when you create a ticket or chat.
- Implementations don't have a pull request button or a live preview.
- The Review pane shows no code changes, and Guided Review isn't available.
- Automatic Environment Setup doesn't run.
To add repos later, go to Project Settings → General and pick them under Repositories. If GitHub isn't connected yet, you'll be asked to connect it first. Adding a repo starts Automatic Environment Setup, just like creating a project with repos.