Quick start
Get started with Superconductor in minutes.
Sign up
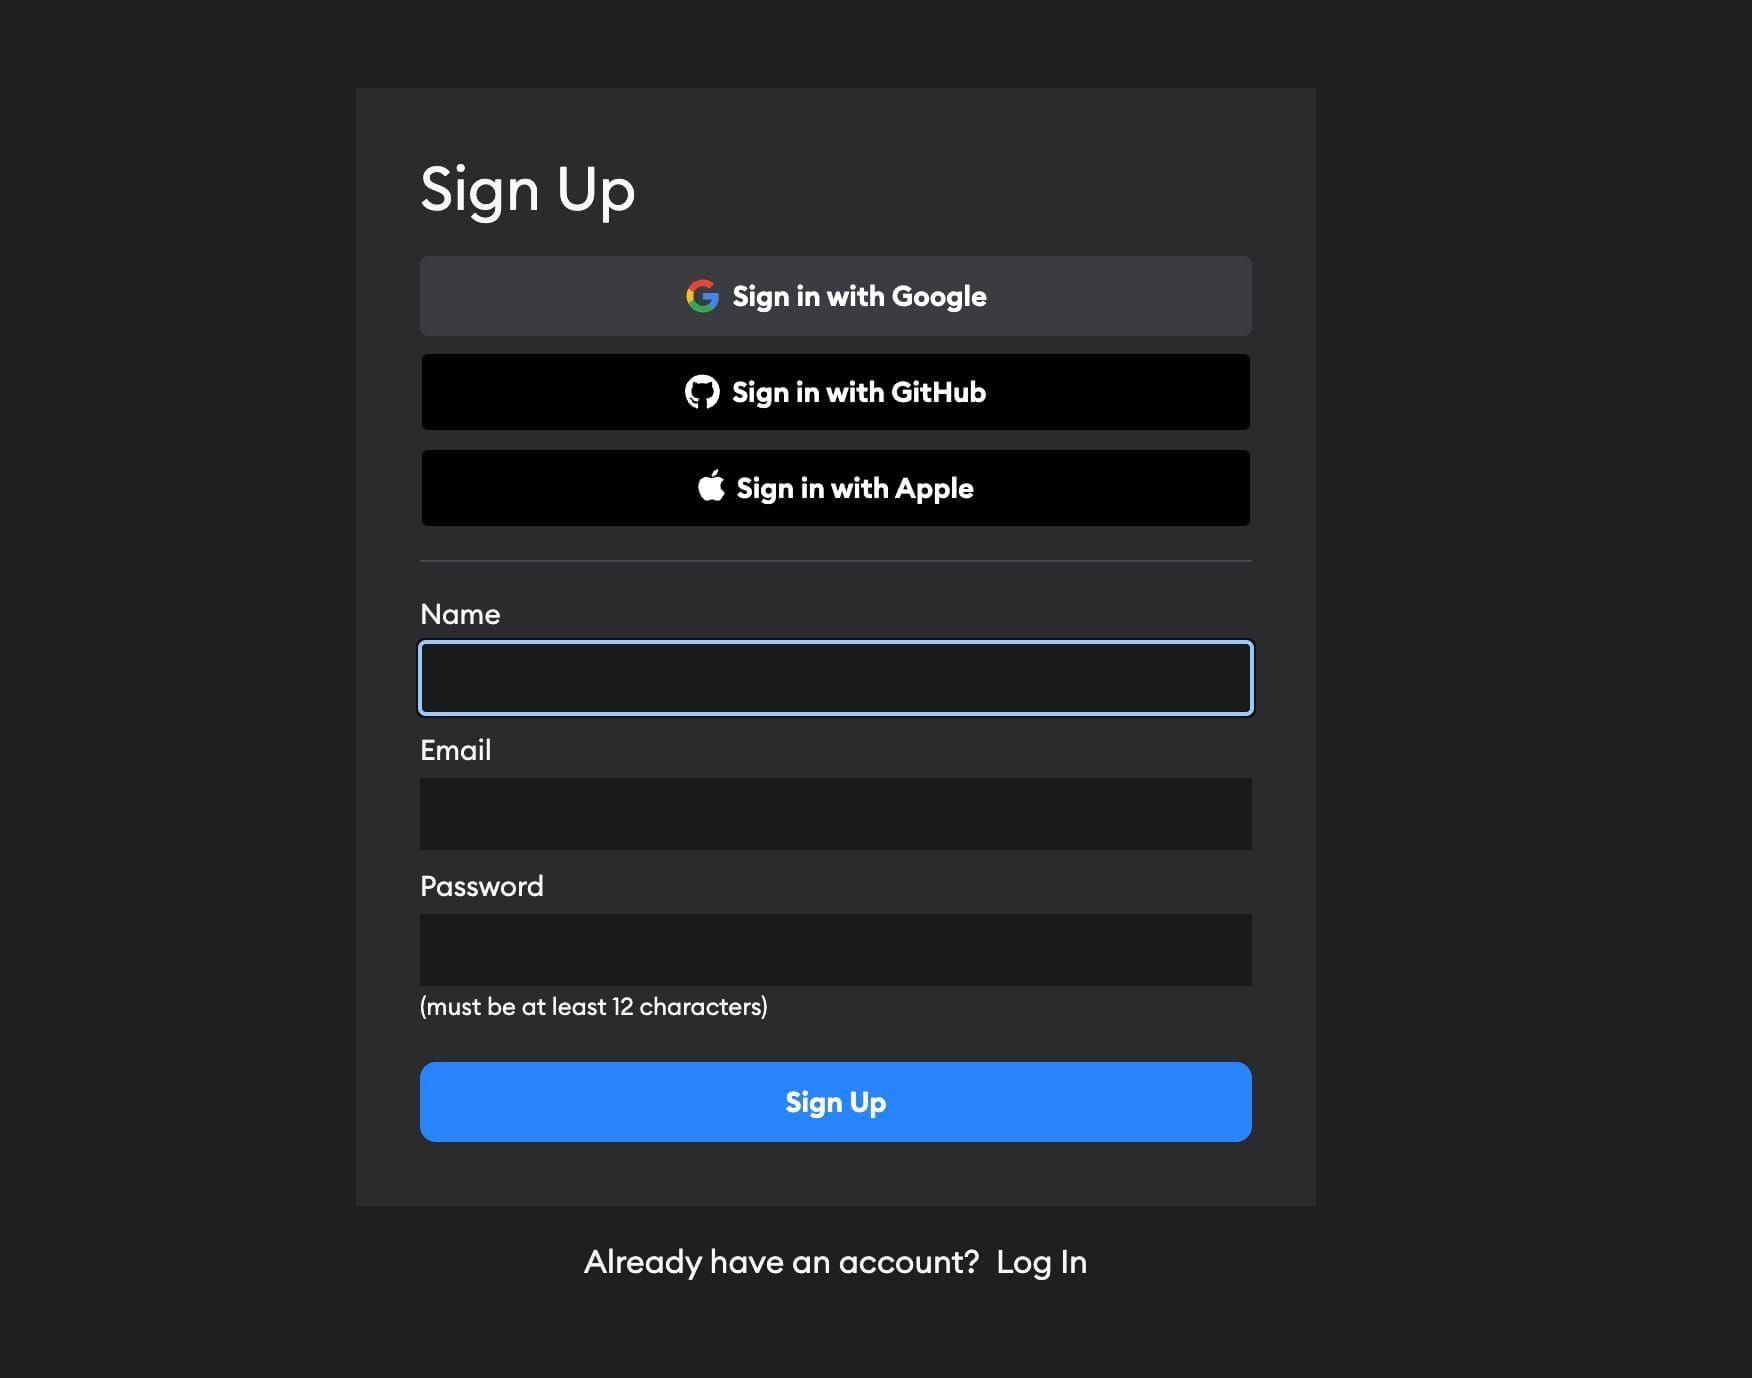
We support signing up with Google, Apple, GitHub, or email/password.
Workspace setup
After you sign up, you'll land in your personal Workspace. The first step is to connect your codebase. Superconductor agents work on it in secure cloud sandboxes.
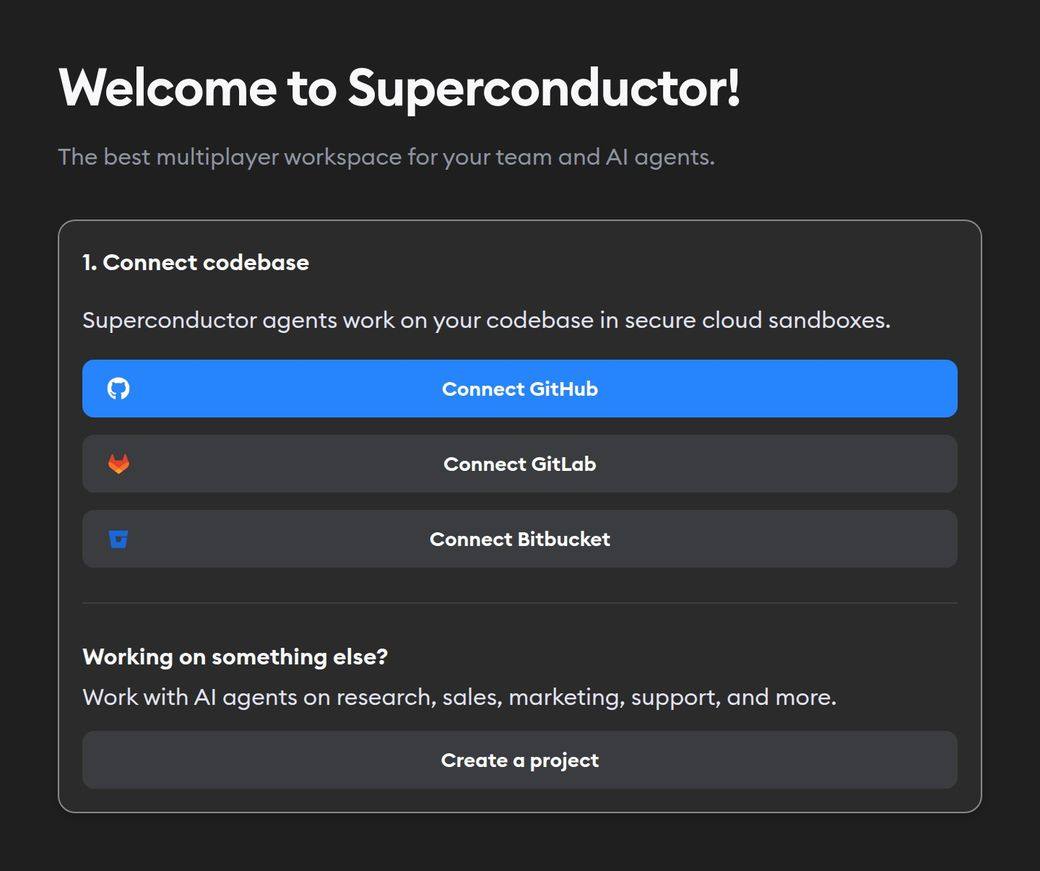
You'll see three options:
- Connect GitHub is the one that works today. You choose exactly which repos Superconductor can access.
- Connect GitLab and Connect Bitbucket aren't ready yet. Clicking either one opens a Coming soon note. We'll tell you when it ships, and in the meantime you can book a call so we understand what your team needs.
Working on something else?
If your team does research, sales, marketing, support, or other work without code, click Create a project under Working on something else? This skips GitHub and takes you straight to creating a project. Give it a name and click Create Project. You can connect GitHub and add repos later. See Projects without repositories for what works differently.
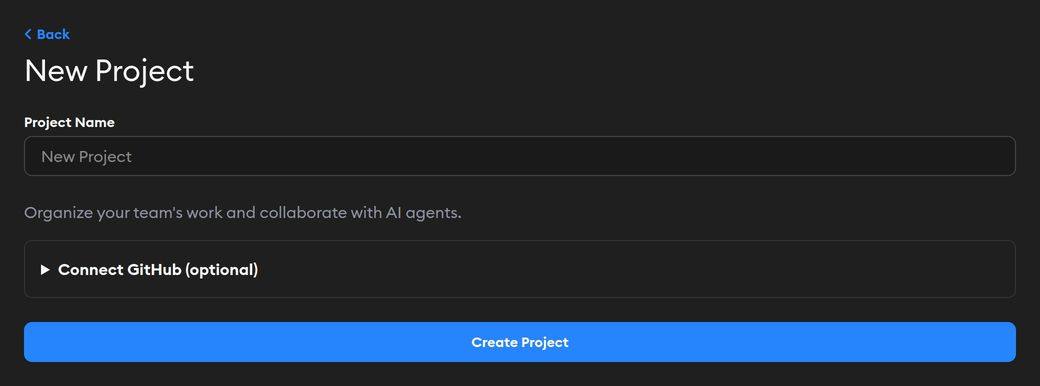
This path also skips the agent credentials step below. You'll need to add an API key or connect a plan in Agent credentials before you launch your first agent. Then you're ready to create your first ticket or chat.
Connecting GitHub
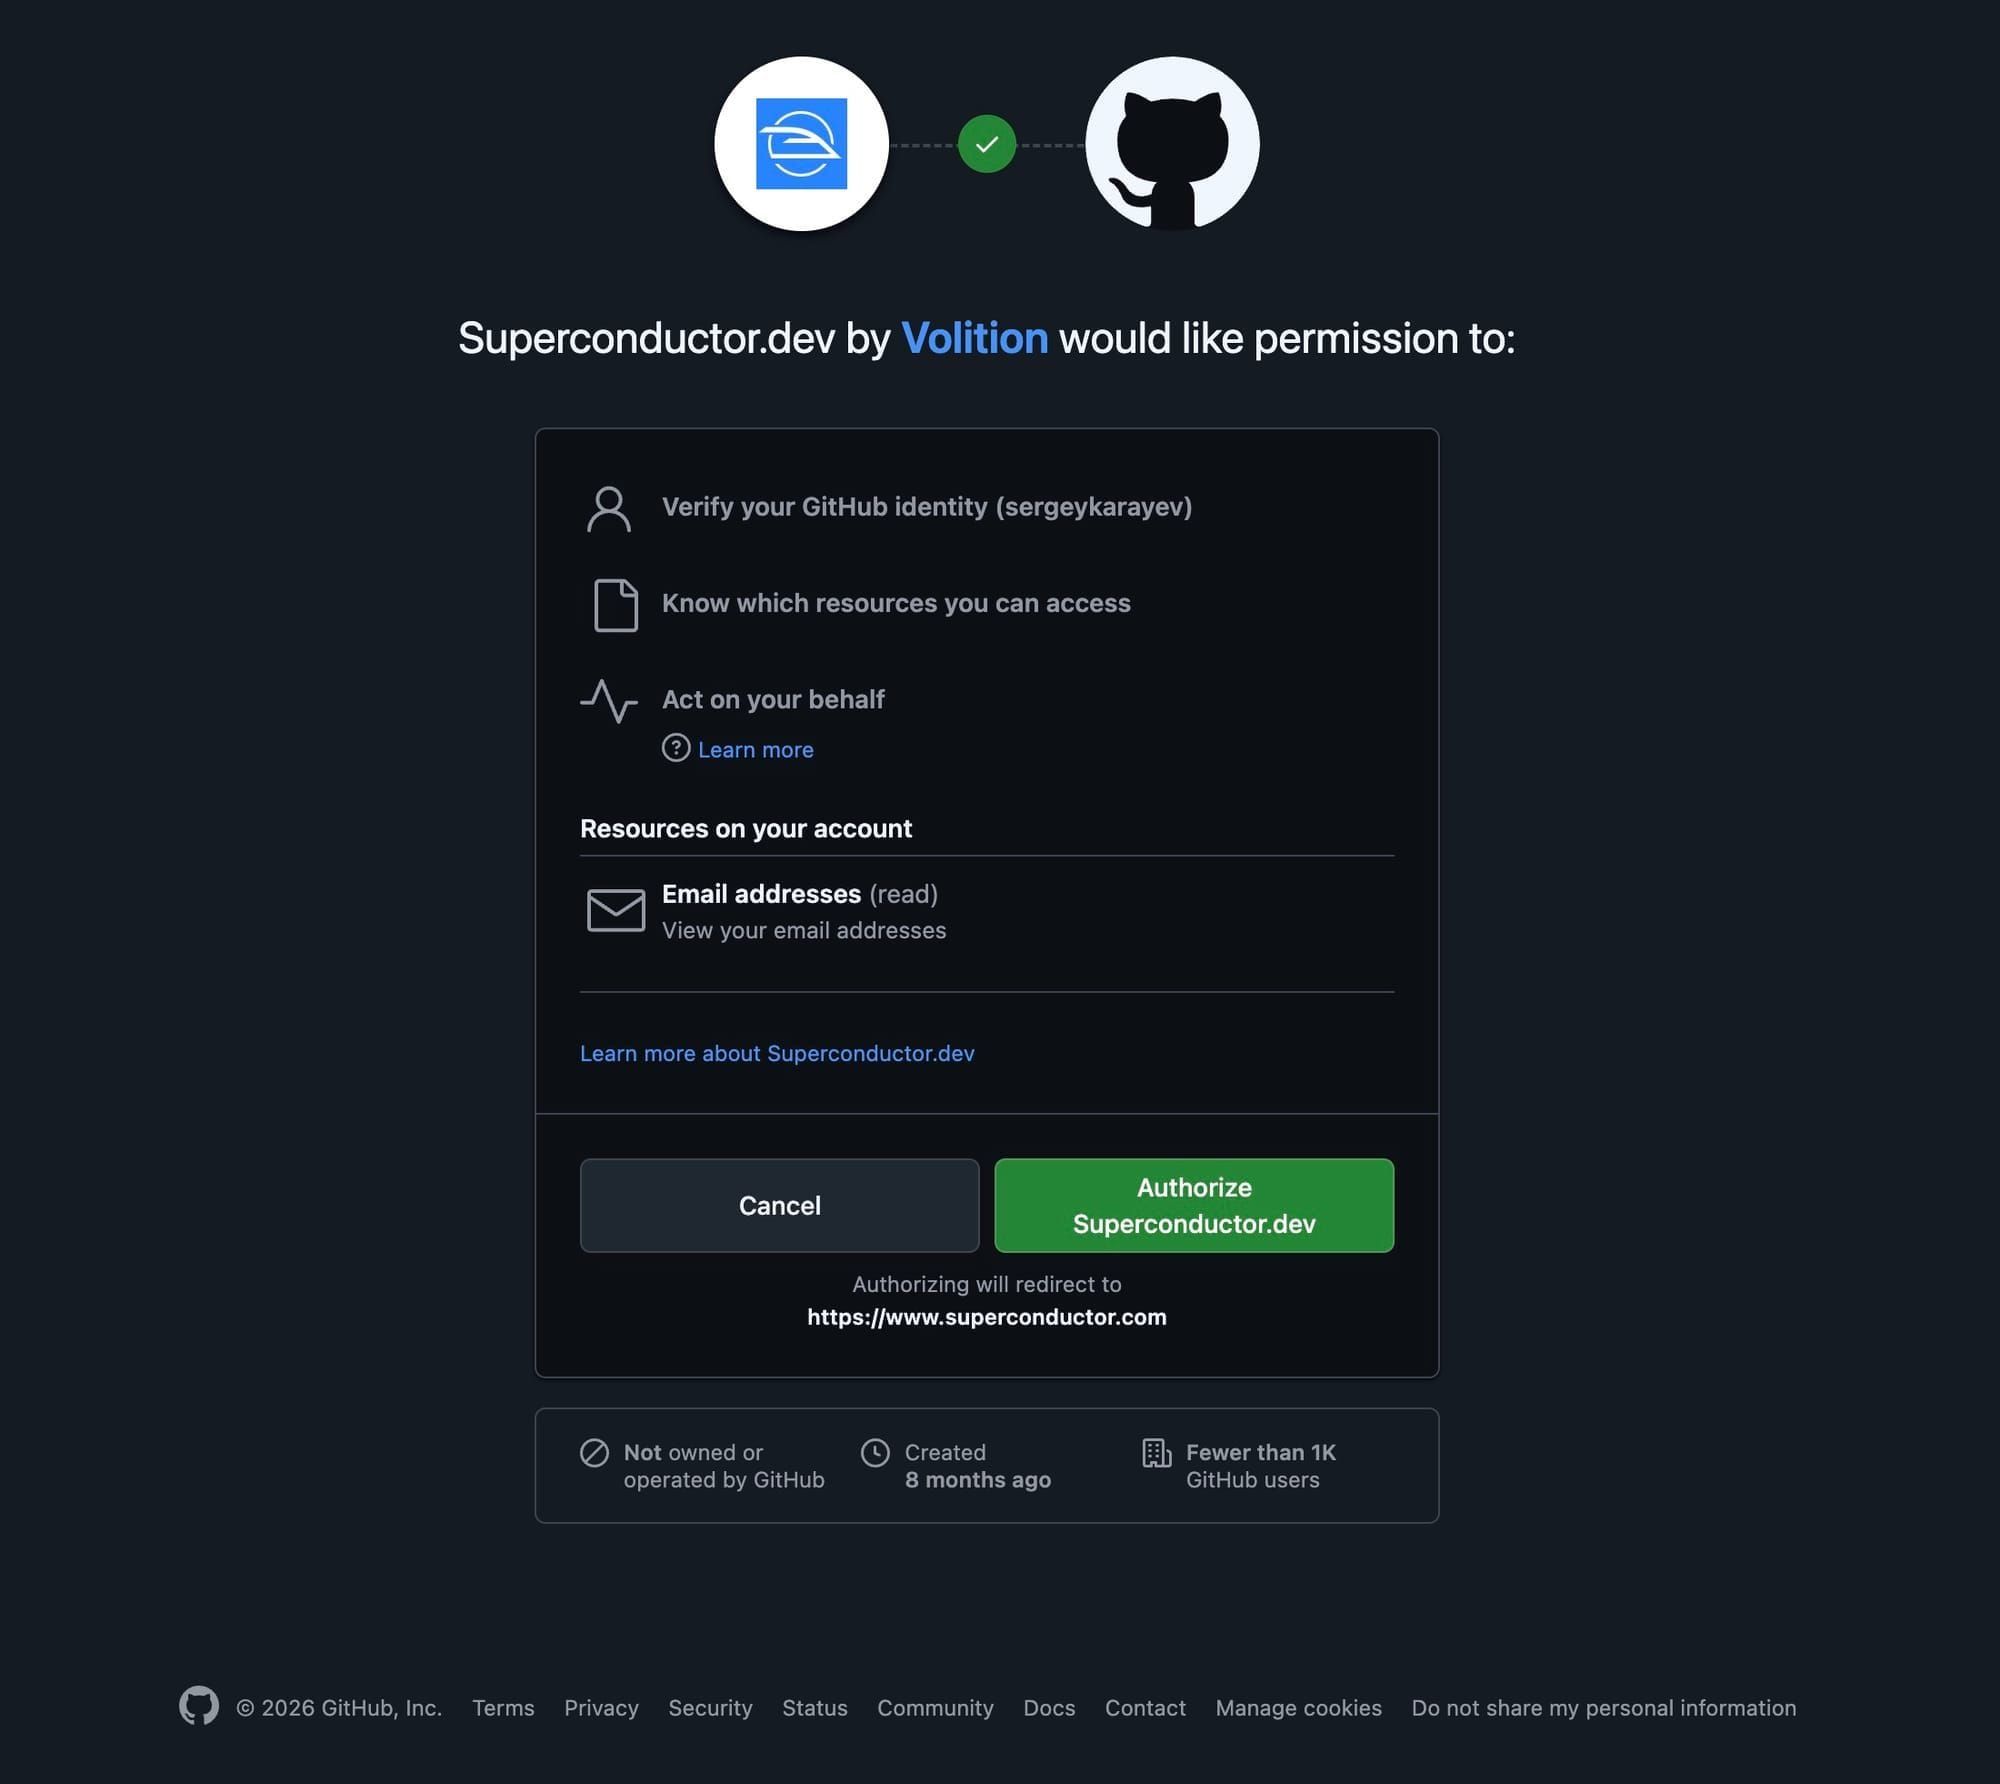
You can select all or any subset of repos that you want Superconductor to access.
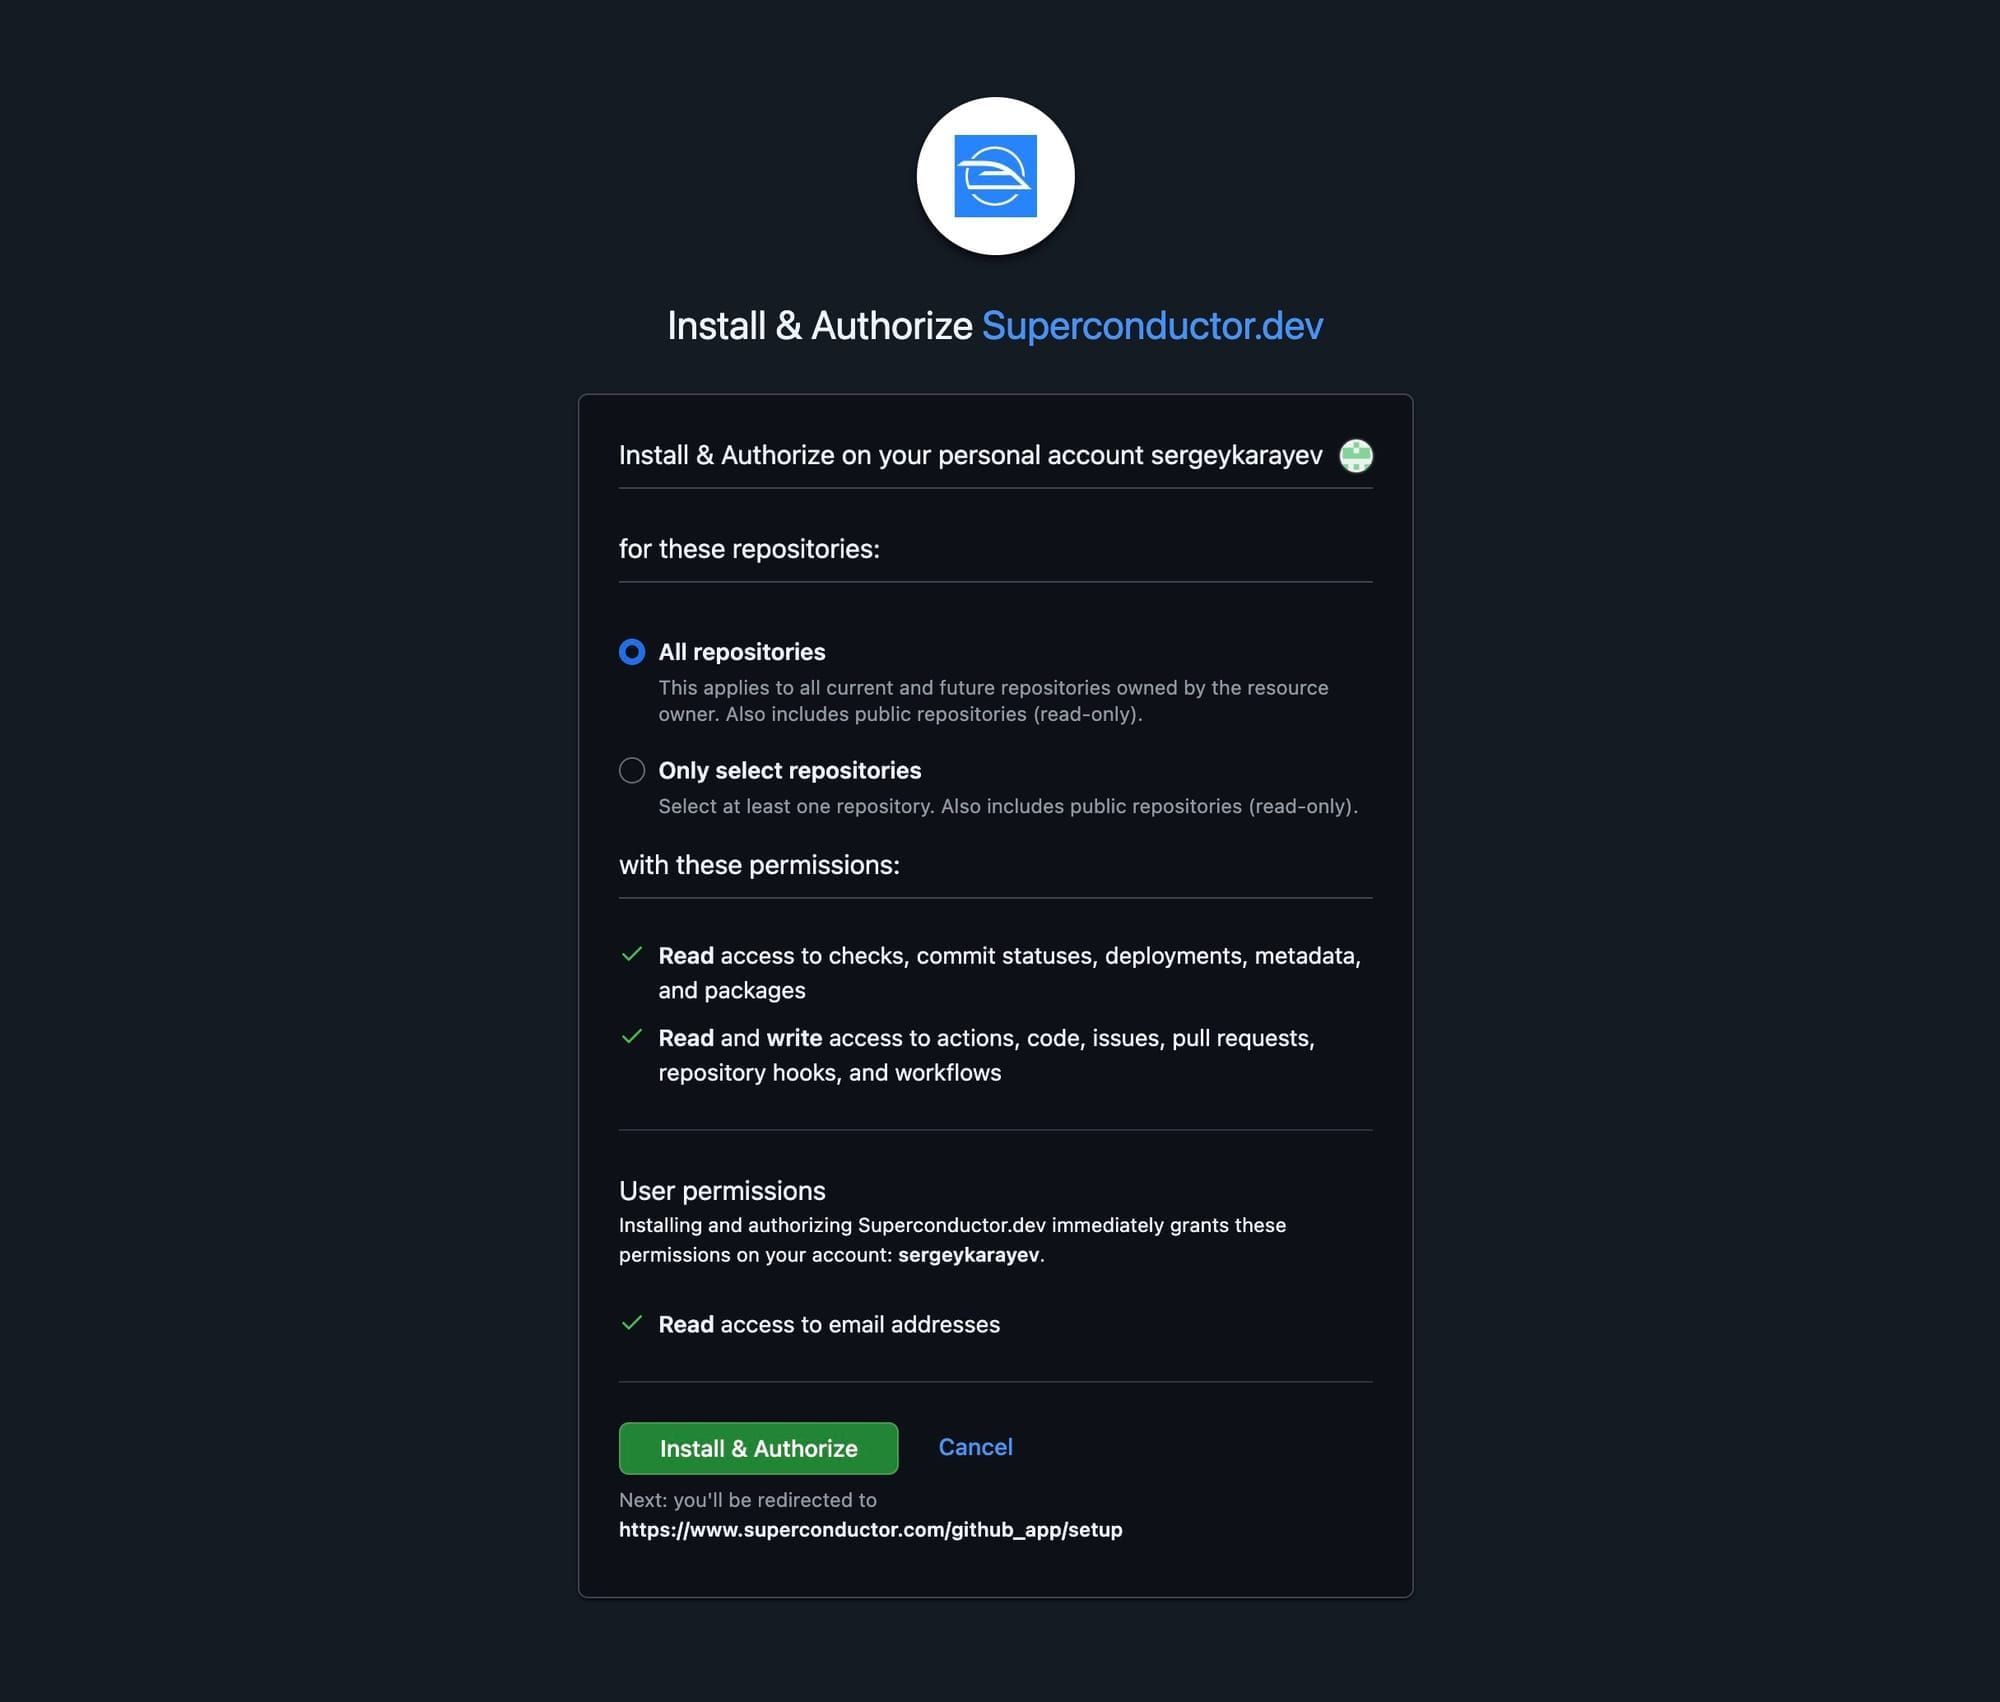
If your GitHub organization requires an administrator to approve GitHub Apps, GitHub sends the installation request to your organization admins. The organization's repositories will become available in Superconductor after an admin approves the request in GitHub.
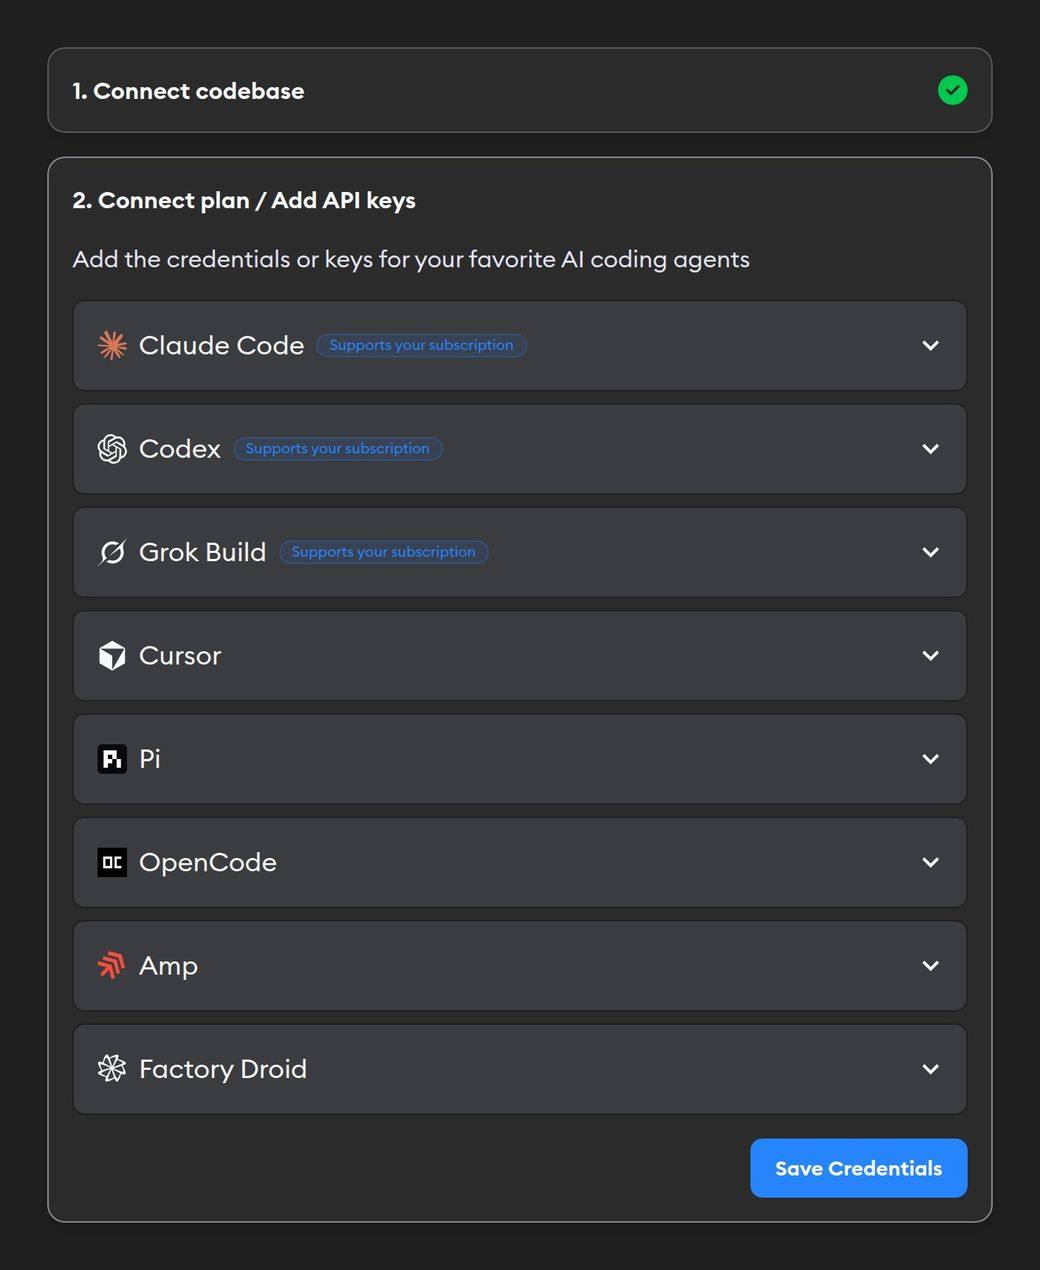
After GitHub is connected, the next step is to set up a coding agent: connect your existing Claude, ChatGPT, or SuperGrok plan, or add your own API keys, in the Connect plan / Add API keys step. You can add more credentials later in Project Settings.
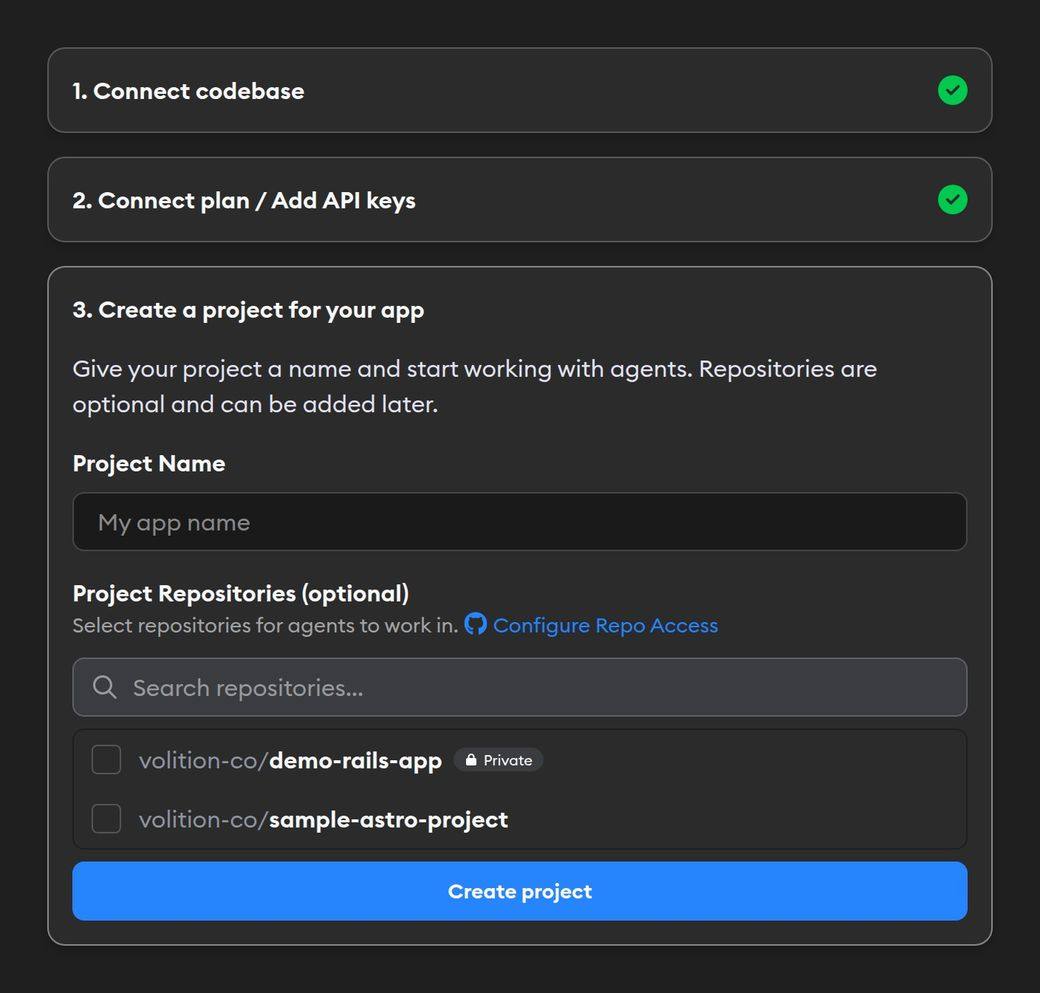
Next, create a project for your app. Name it, then pick its repos. Repos are optional, so you can also skip them and add them later. Most projects need just one, but a project can hold as many as you need — handy when your code is split across, say, backend and frontend repos. Agents launched in that project can work across all of them. See the GitHub integration docs for more on connecting and managing repositories.
Project setup
When you create a project with repos, Superconductor automatically runs Automatic Environment Setup. It inspects your repo(s), configures the packages, commands, and services it needs, and gets live previews working when it can. If it needs secrets like API keys or database URLs, it will ask for them; otherwise, it auto-applies the setup for you in the background.
You can also configure things manually at any time if you prefer. If your project has no repos, there's no setup to run, so you can go straight to your first ticket.
While setup runs, the project dashboard shows a status banner. If setup needs secrets or other details from you, click Add details from the banner to continue.
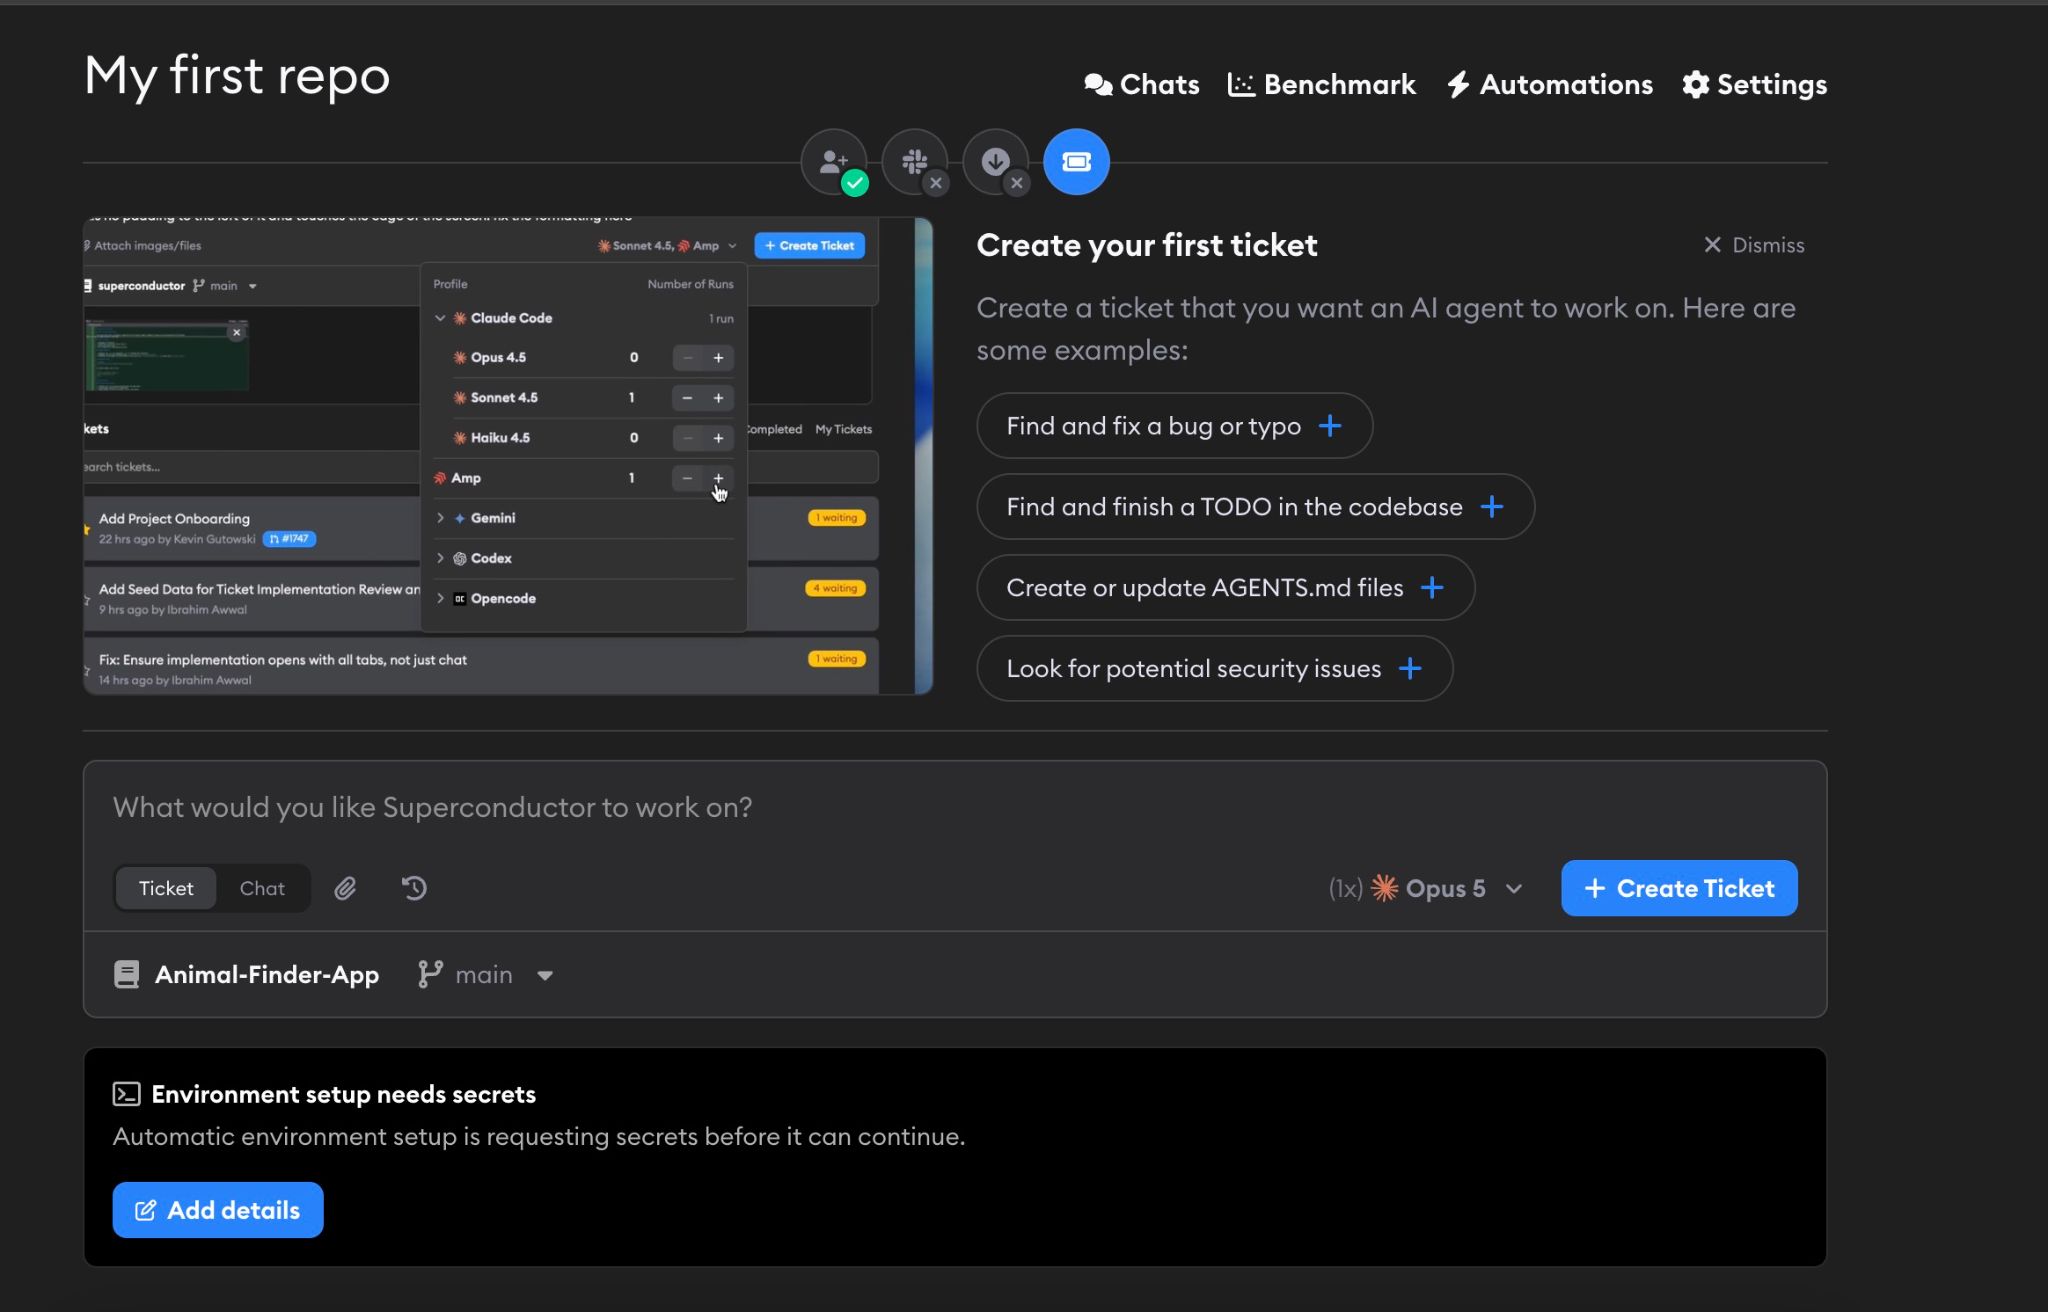
The onboarding modal walks you through the first few project steps and then brings you straight to creating your first ticket. You can click one of the sample tickets to get started fast, or write your own if you already know what you want the agents to work on.
For now, let's go ahead and submit the first ticket. "Create or update AGENTS.md files" is a good first one. The agent picker defaults to one implementation using your Default agent profile, if it is available for the project. Otherwise, Superconductor will pick the best available agent based on your configured credentials. You can also pick different agents if you'd like to compare — see Launching implementations for everything the picker can do. Here I am selecting two Codex profiles (GPT-6 Astra and GPT-6 Sol) and one Claude Code Opus 5.
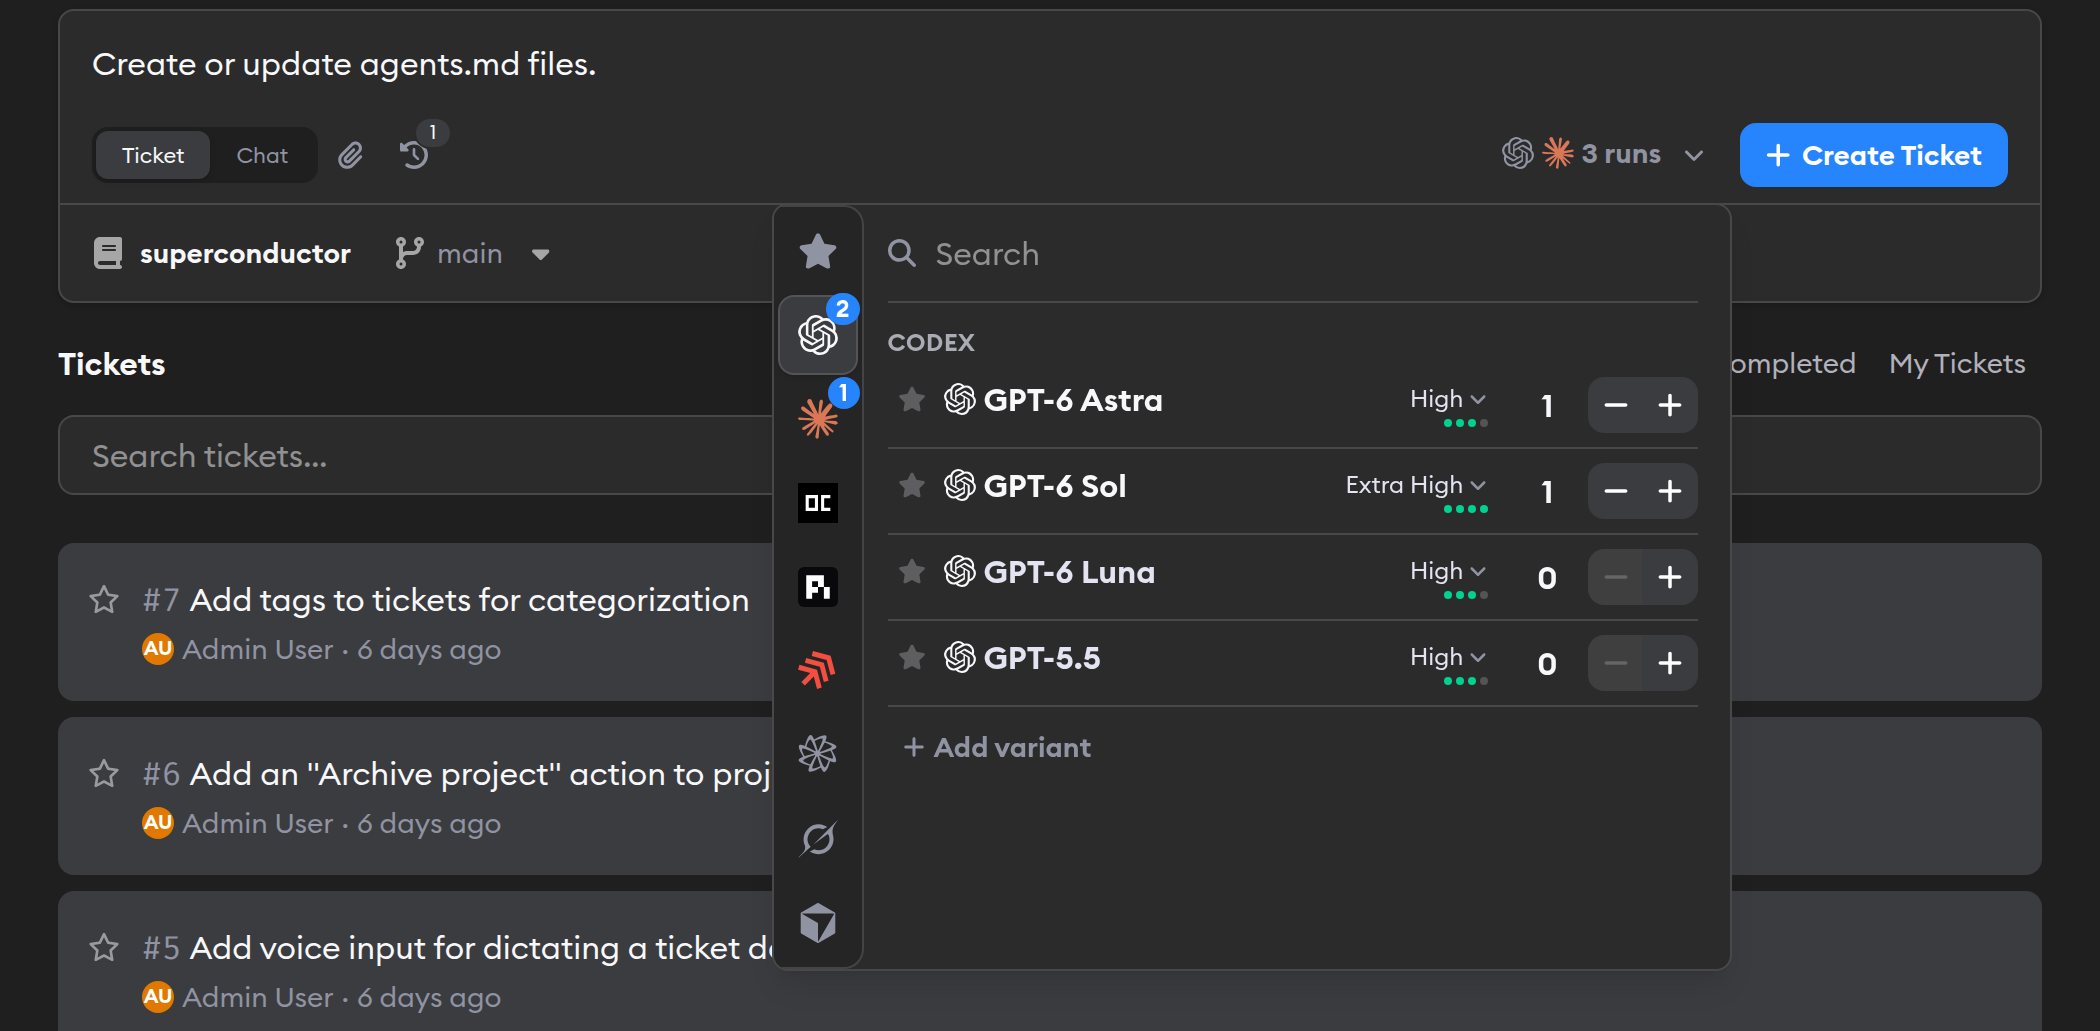
The Ticket / Chat toggle in this box switches it to starting a chat instead — an agent that answers questions about your repos without changing any code. We'll stick with tickets here.
Ticket implementations
Clicking into a Ticket, we see the running implementations.
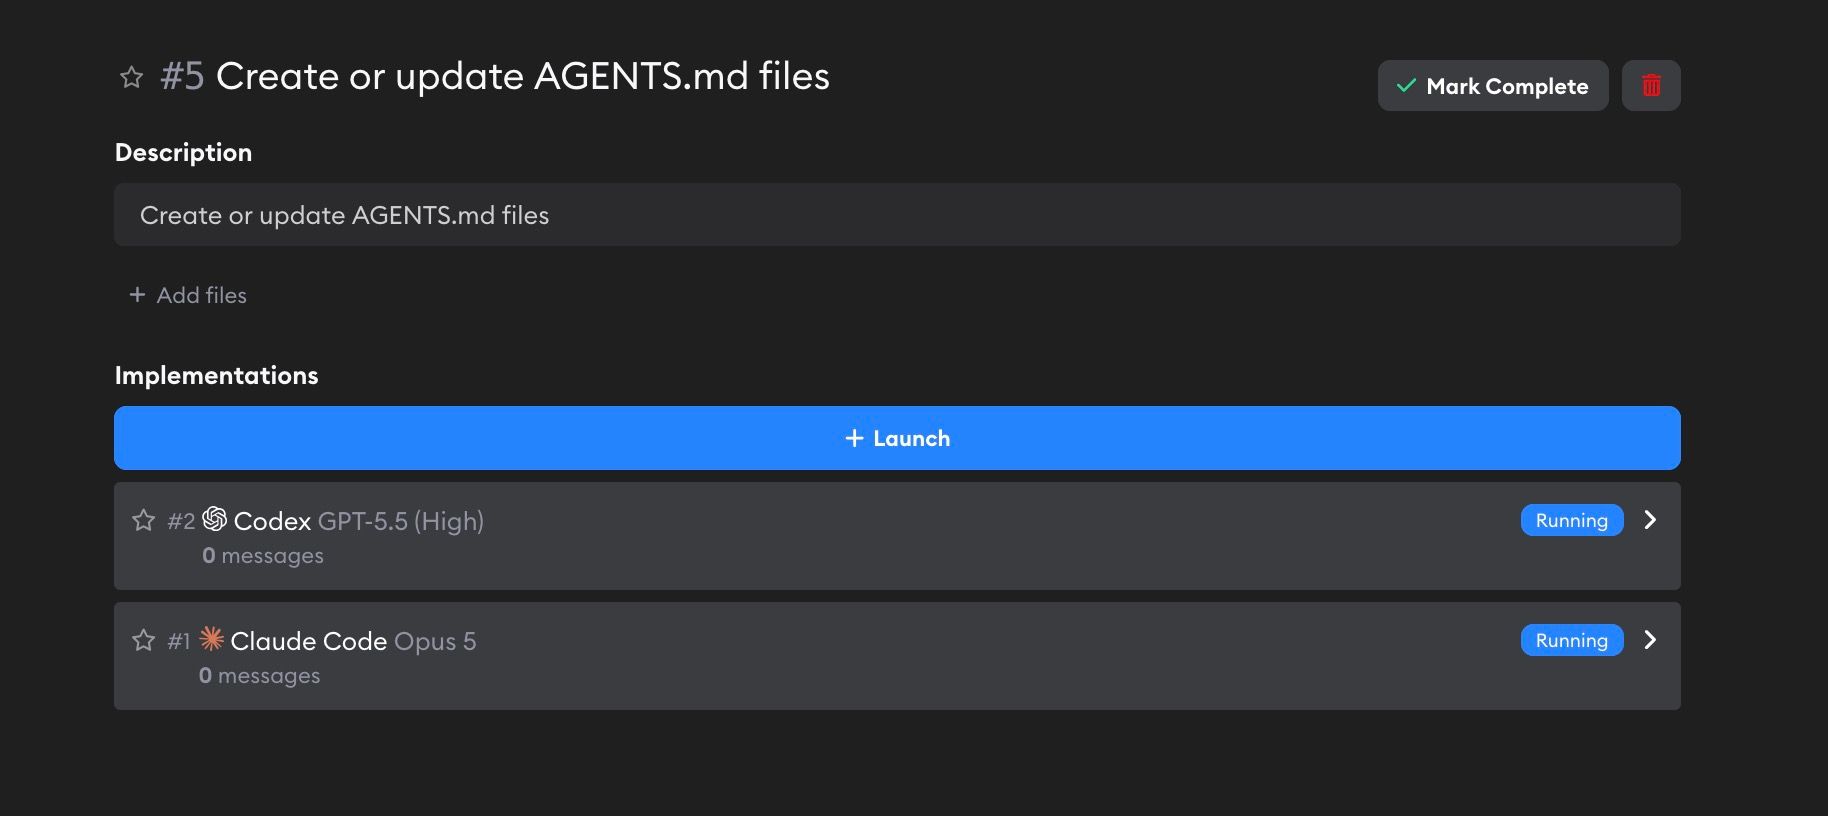
When one finishes, we can check it out. Click into an implementation to:
- Review the diff: See all code changes with our Guided Review feature
- Chat with the agent: Continue the conversation to refine the implementation
- Live preview: Test the changes in a live environment with terminal access
Next steps
- Ask a question without creating a ticket with Chats
- Learn more about Implementations
- Configure your Project settings and add Agent Credentials
- Invite teammates to your Workspace
- Connect your team's tools in Workspace Settings → Connectors. Follow the Integrations guide to get started.
Questions, feedback, or a feature request?
Click Support at the bottom of the sidebar and choose Send Feedback to reach our team from inside the app. You can also email us at team@superconductor.com. We welcome bug reports and feature requests.