Grok Build
Superconductor is the best place to run Grok Build in the cloud.
Credentials
Superconductor supports two ways to authenticate Grok Build:
- SuperGrok plan: Connect your SuperGrok plan in your Account, Project, or Workspace settings. Your connected plan is used when you launch an implementation directly.
- API Keys: Configure your Grok API key at the Project or Workspace level. Used when a connected SuperGrok plan isn't available for the launch.
See Agent credentials for details on precedence rules.
Connecting your SuperGrok plan
Open the SuperGrok Plan Connection modal from your settings and click Connect. Superconductor opens x.ai in a new window for you to approve, and shows a code in the modal. Check that it matches the code on the xAI page, approve the request, and you're connected. There's nothing to install.
If the browser flow doesn't work for you — some accounts can't use it — expand Connect manually instead and paste your credentials:
- Install the Grok CLI on your machine.
- Run
grok loginto authenticate with your SuperGrok plan. - Copy the contents of
~/.grok/auth.json. On a Mac,cat ~/.grok/auth.json | pbcopydoes it in one step. - Paste the JSON into the modal and click Connect Plan.
To switch accounts or stop using your plan, reopen the modal and click Disconnect.
Models
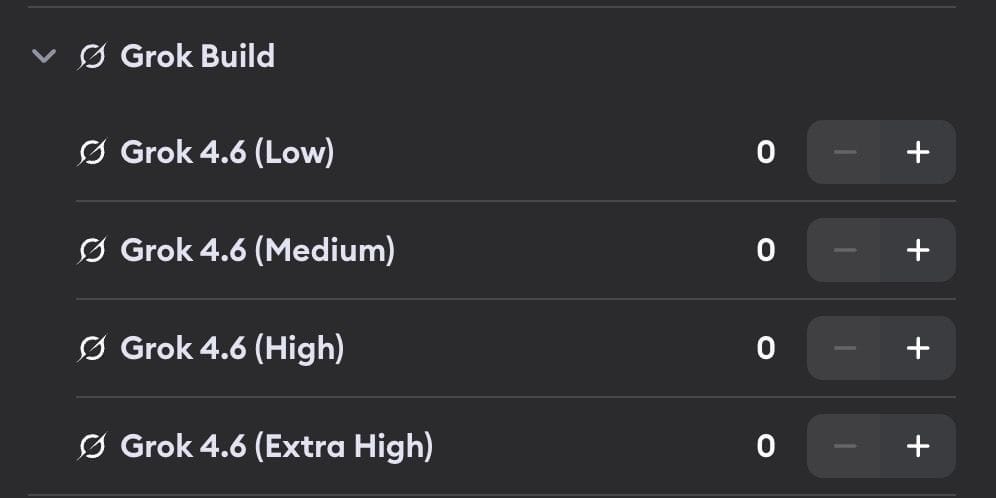
Grok Build runs xAI's Grok 4.6 model with four reasoning effort levels:
- Grok 4.6 (Low) - Fastest, best for small or straightforward changes
- Grok 4.6 (Medium) - Balances speed and depth
- Grok 4.6 (High) - Thorough reasoning for complex changes
- Grok 4.6 (Extra High) - Maximum reasoning depth for the hardest tasks
Higher reasoning gives the agent more time to think through a task before it starts writing code.