Netlify
Let agents create, deploy, and manage Netlify projects.

Netlify MCP lets agents work with your Netlify account directly. Agents can set up a project, deploy the code they just wrote, and check that the deploy went live, without you leaving the chat.
What agents can do
Once you connect Netlify, agents can:
- Create Netlify projects and find existing ones
- Deploy a repository and follow the deploy until it finishes
- Read and update environment variables and secrets
- Manage access controls, forms, and extensions
- Look up user and team information
Setup
Go to Workspace Settings → Connectors (or a project's Connectors page) and click Connect on the Netlify card (or Connect another to add another account).
Step 1: who the connection is for
Choose whether the connection belongs to you or to your team, which projects can use it, and whose agents can use it. Netlify starts on Personal Account. See connection options for what each choice means.
Click Continue.
Step 2: how agents reach Netlify
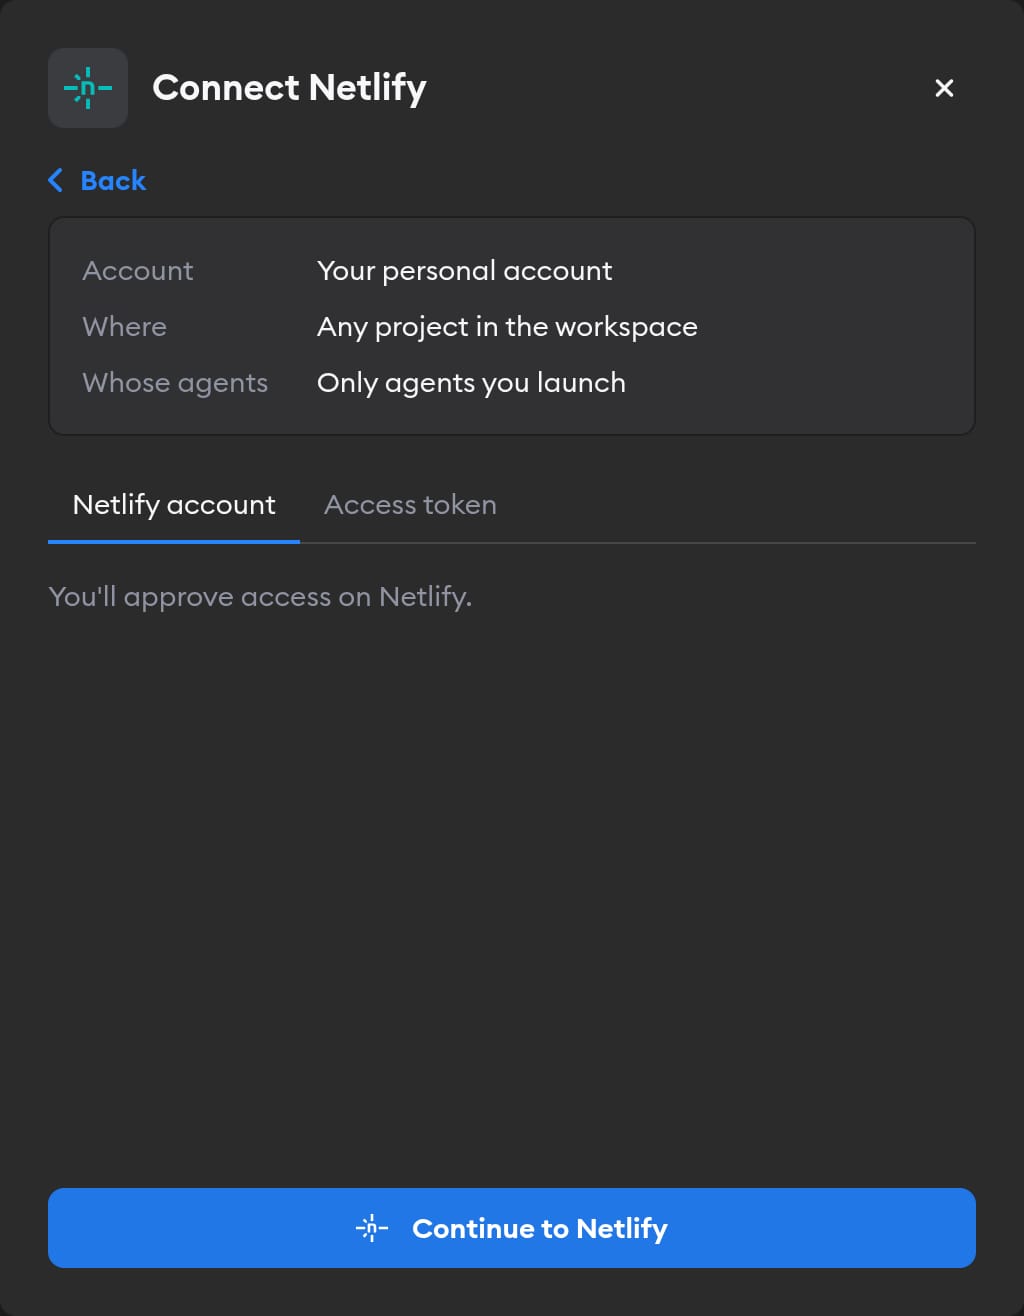
The second screen has two tabs: Netlify account and Access token. Pick one.
Netlify account
This tab is selected by default, and it's the easiest way in — there's no key to create.
Click Continue to Netlify. Netlify asks you to sign in and approve access. Approve, and you land back on the Connectors page with Netlify connected.
Agents then act in Netlify as whoever signed in, so they can see and change everything that person can. If you picked Workspace Service Account in step 1, everyone's agents use that access — so sign in with an account whose permissions you're happy to share.
Access token
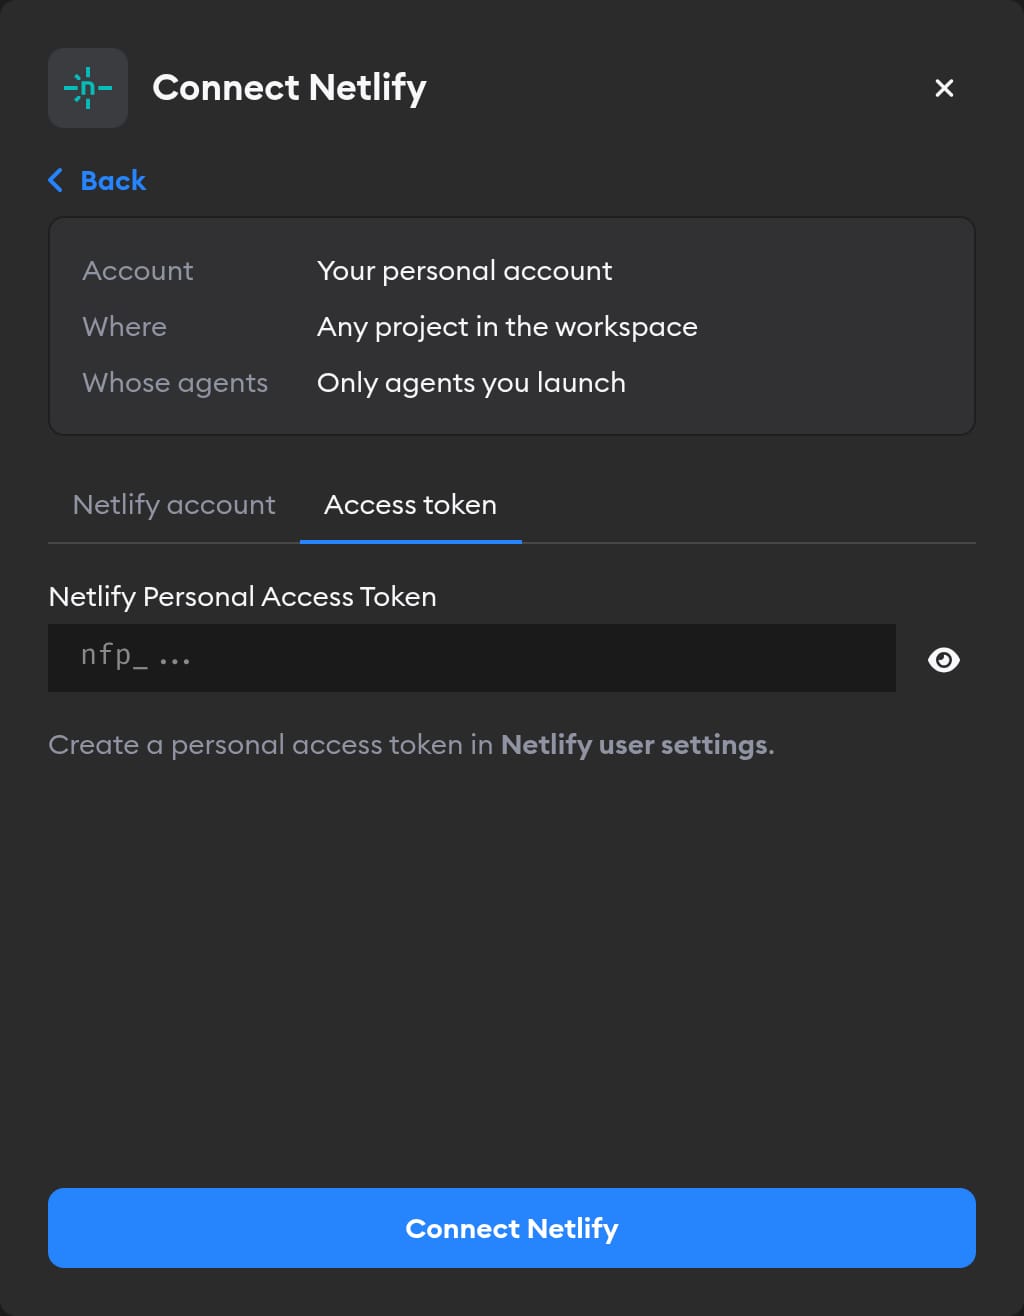
In Netlify, open User settings → OAuth → Personal access tokens (or go straight to Netlify applications) and click New access token. Paste it into the Netlify Personal Access Token field and click Connect Netlify.
Reconnecting and disconnecting
If Netlify stops accepting a connection, the Connectors page shows a Reconnect needed badge on it, and agents run without Netlify.
Click Manage next to the connection to fix it. A connection you made with Netlify account has no key to replace: it shows Account connection: Connected and, when something's wrong, a Reconnect Netlify button. You can only reconnect a personal connection you own; for someone else's, Superconductor tells you who to ask.
Netlify has no way for Superconductor to revoke an account connection, so after you click Disconnect, remove the access in your Netlify user settings to finish the job. For an access token, delete the token in Netlify.
When to use it
Ask agents to use Netlify when a ticket involves deploying a site, setting up a new Netlify project, changing environment variables, or checking why a deploy failed. For example:
Create a new Netlify project for this repo and deploy it. Send me the live URL once the deploy finishes.Our last Netlify deploy failed. Read the deploy log, fix the build, and redeploy.